How to Paint Stringy Gore!
If you have any questions / comments, please feel free to post on the forum thread for this tutorial.
Howdy y'all, this is going to be a quick one, as it is basically my previous
How to Paint Gore/Blood with the addition of one product, so I'd definitely recommend reading that alongside this as this is more of an addition, and won't be as thorough.
The difference between the previous tutorial and this one is that this one involves one 'magic product' - UHU.

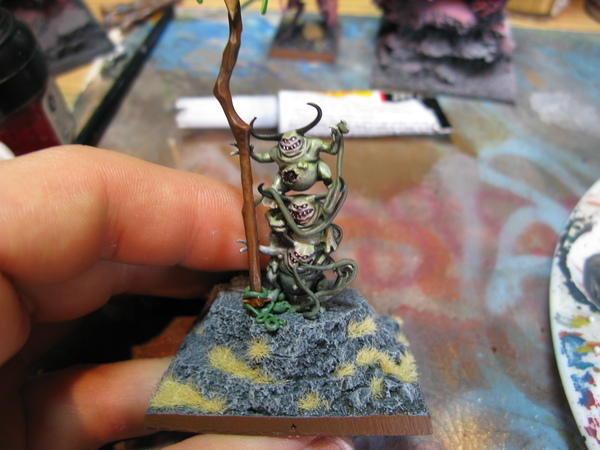
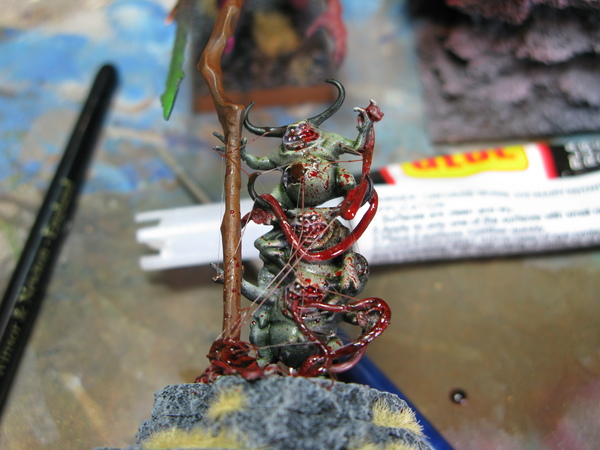
With the use of trusty UHU you can take your gore to the next level of ickyness, to model this we've got these 3 happy chappies:
Step 1 Build your innards if they're being built, in this case I went for green stuff sausages, as that's all I can sculpt.
 Step 2
 It's quite important to have whatever is under tamiya clears/blood mix fairly bright as given that they are transparent they will show up more if this is the case. Here I did a quick coverage of dheneb stone.
 Step 3
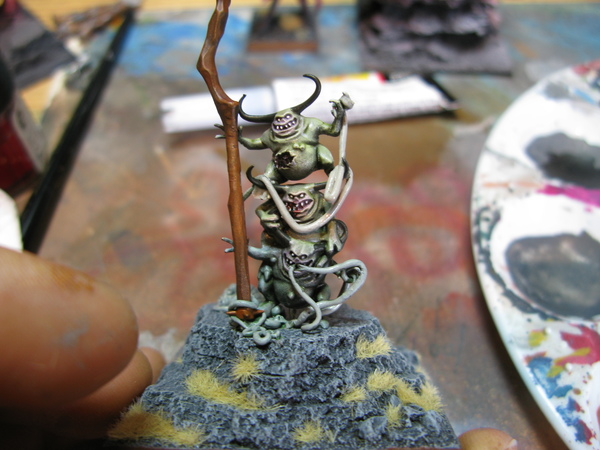
 Blood mix! I outlined this in my last gore tutorial, but basically it's a mix of water effects, and purple and red washes and paints (a small amount of paints), pop it where it's needed.
 Step 4
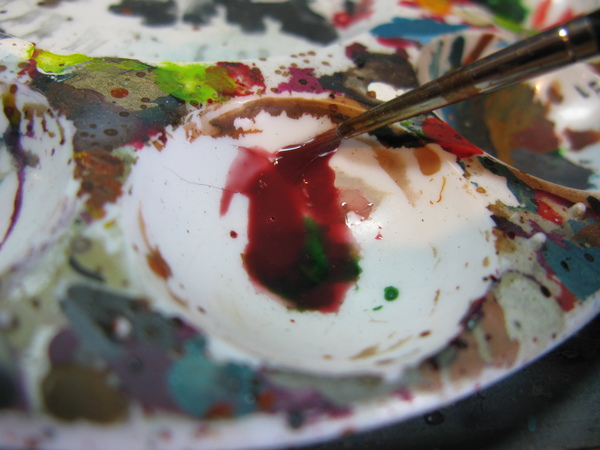
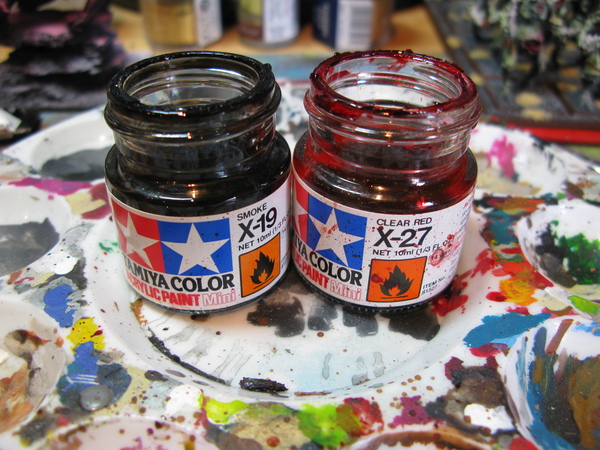
 Tamiya Clears = win! Mix up your gore of choice - for me it's usually smoke + clear red.
 Step 5
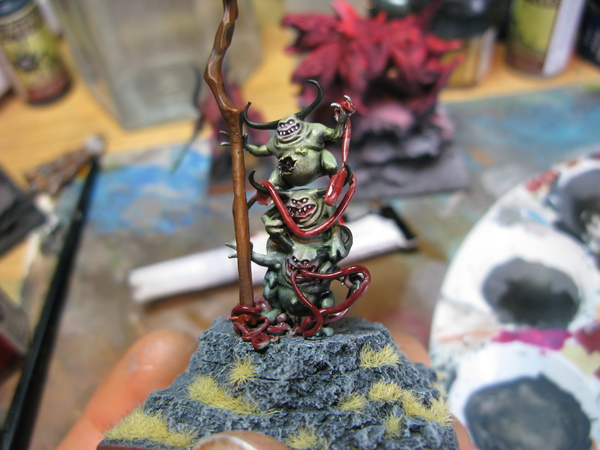
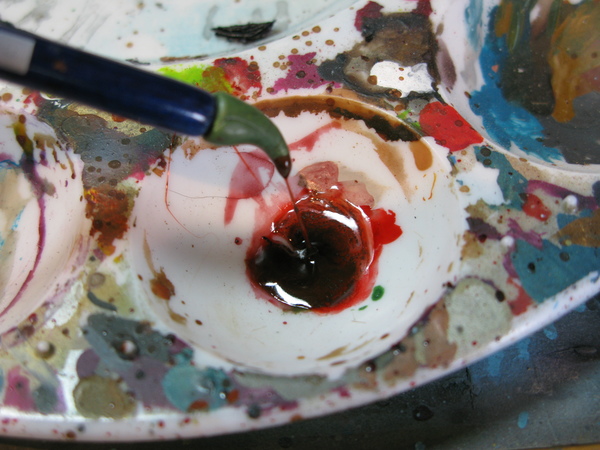
 UHU - It's best to work fairly quickly as this stage as this stuff dries fast! Put a blob of UHU in your tamiya mix, swirle it about with a tool/applicator of your choice. I use this green stuff contraption, but a cocktail stick or colour shaper works fine. Now take this mix to the model and 'join the dots' between the places you want your gore.
Again it is essential to work fast if you want your strands thin!
 Step 6
 Done! That's it - super simple, works brilliantly between teeth as well, if you're just going for saliva then you can use the UHU straight, but with a bit of paint it can be any slime of your choosing

.
What our customers are saying...
Sign up for our newsletter - for the latest news and promotions
Element Games Team

Stockport Store and Gaming Centre

