How to Paint Flesh Spotlight: Horror start to finish.
If you have any questions / comments, please feel free to post on the forum thread for this tutorial.
Firstly huge thanks to Moongump ('Hannanibal on our own forums) for writing this upon request, he's an artist I've admired for a long time and it was brilliant of him to take the time to do such a comprehensive step by step, if you'd like to see his beautiful work elsewhere please check out :
His Photobucket:
Here
He is also 'Hannanibal' on the Under Empire forums
One of the aspects of Tony's work that stands out to me in particular every time I look at his latest photos is the consistency of the quality of the flesh on his models, for this reason I asked him to do a particularly fleshy figure so everyone (especially me) could see how he makes his decisions, what his methods are etc.
Without further ado here we go:
Stages 1-3. Priming, basecoats and wash.
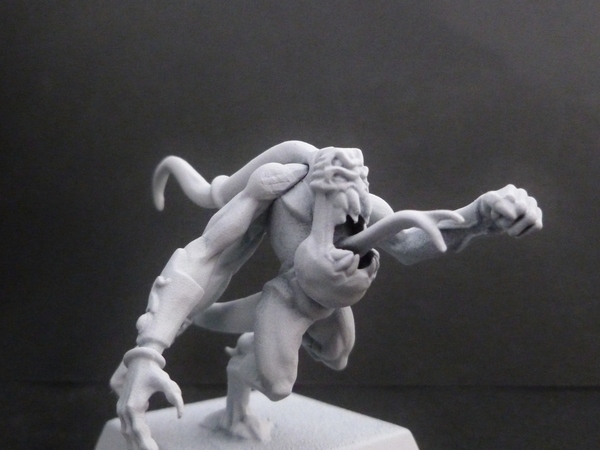
The model is sprayed with Citadel Skull White primer. I made sure to shake the can thoroughly and do a few test sprays first to make sure the spray was coming out evenly. The model is sprayed from all angles, using small bursts of spray and is left to dry for at least and hour (2 hours is better).
(click the image below)
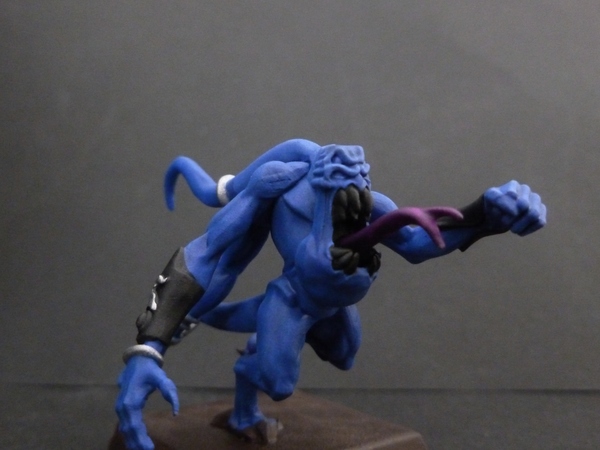
The model's flesh is basecoated with VGC Ultramarine Blue. I used a wet palette and a mix of roughly 1/1 water and paint and a large brush to apply the paint. Once that was dry I painted the armour and mouth with Chaos Black, the jewellery with Chainmail and the tongue Liche Purple. The base and foot claws were also painted VGC Charred Brown.
I then washed the models flesh with Asurmen Blue but nothing else is washed at this stage. The next stages tend to get quite messy and it's much easier to tidy up a basecoat than it is to tidy up a basecoat with a wash on top. If you don't like using wash (or don't have any) simply use a slightly darker basecoat and work through more layers to achieve the same effect.
Allow the wash to dry thoroughly for at least an hour and a half.
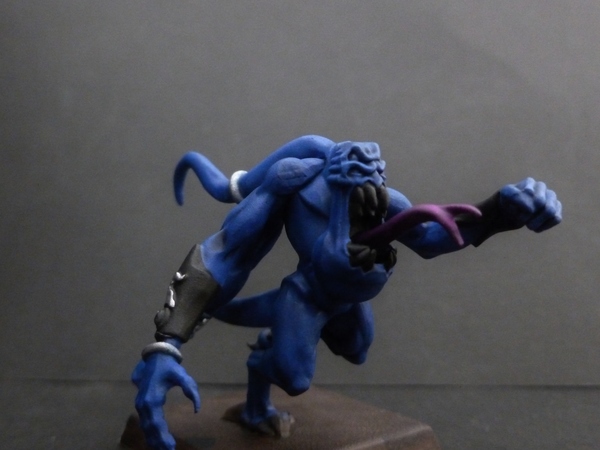 Stages 4-6. Layers.
the next few stages are layers. Build up the layers using incrementally brighter mixes of paint than the previous layer. The first layer is VGC Ultramarine Blue mixed with an equal amount of water on a wet palette. The consistency of these layers is very important. Too much water and the paint will lose all control and run into cracks, too little water and the paint will not be transparent enough. If you find you have difficulty achieving a workable consistency then glaze medium is a life-saver. A few drops of glaze medium and an equal amount of water will improve the transparency of the paint, improve control and keep the finished coverage even. It does act as a drying retarder too so be careful of that as your layers will take much longer to dry but the paint on the palette stays wet for ages which is good for blending and mixing.
I haven't used any glaze medium on this model (as I have found myself relying on it a bit much lately) but it is a real help with blending and getting a good consistency.
For the first layer I used a Pro Art Series Brush size 2 and highlighted all the raised areas. I worked the brush from the dark to the light with the last place my brush touches being the area I wish to be most bright. When all the strokes work in the same direction following the contours of the muscle the last place the brush touches should have the strongest area of pigment. For instance, I worked from the top of the thigh, down to the knee and took the brush off then did the same with a different area of the leg, working down towards the knee.
This layer is very important as it will act as a guide to all the other layers. Concentrate on covering all but the deepest folds and recesses and trying to shape and define the muscle with the brush. Light strokes are better than heavy strokes.
The second layer has a dot of Ice Blue added to the mix. If you think the colour looks too much like the previous colour then you have done it right. The change should be virtually imperceptible. Add more water if you think you need it or glaze medium and water if you are using glaze medium. The same sized brush was used and you want to keep a bit of the last layer showing through so don't completely cover the area in paint. Keep a tiny edge of the last layer at the edges and use the previous layer as a guide as to where to put the paint. Work from dark to light gradually building up the colour in lots of thin, light strokes.
For the third layer add a dot more Ice Blue. Once again the change should be imperceptible and use the previous layer as a guide.
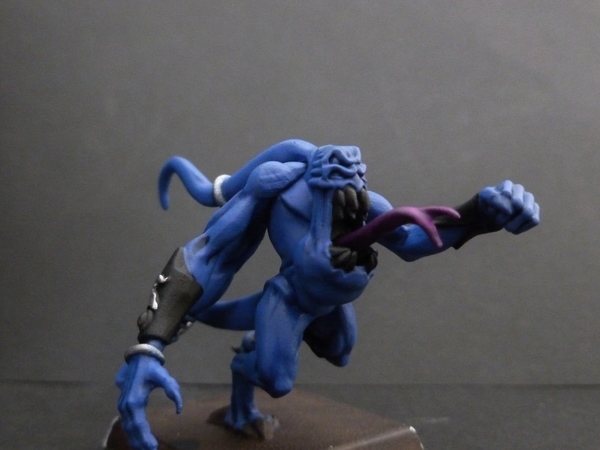
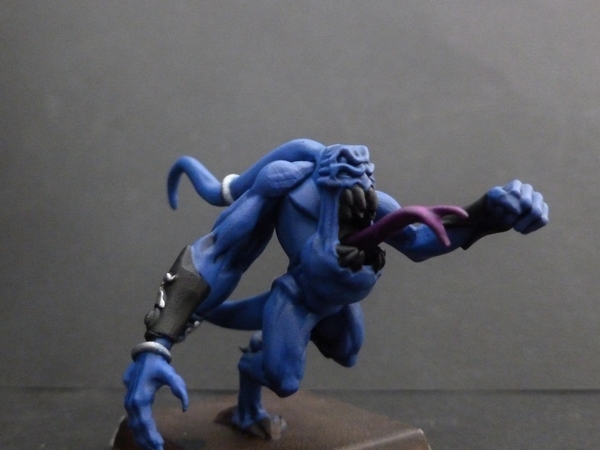
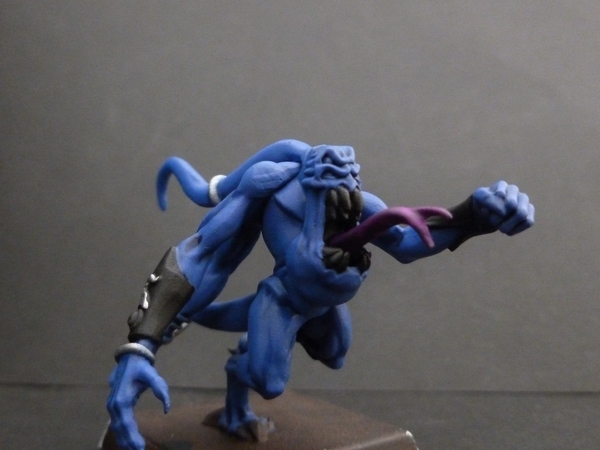 Stages 7-10
Add more Ice Blue to the mix for each layer. Change the size of the brush to something smaller for the face, hands and any wrinkles that are very small. You should be seeing a difference in the colour about now. The colour should be becoming close to pure Ice Blue.
Be really careful from this point onwards not to get these highlights onto any dark areas as they will contrast too sharply and spoil the effect.
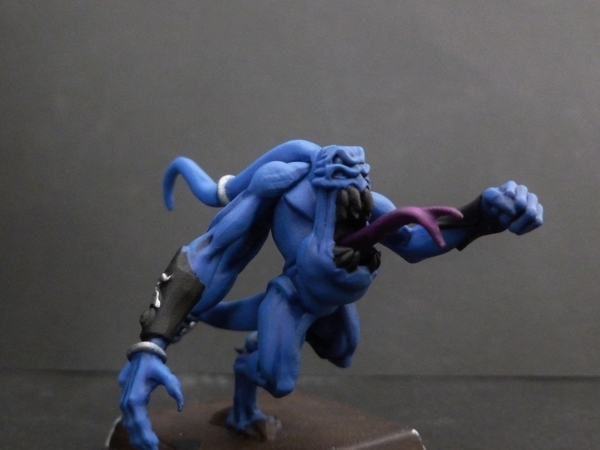
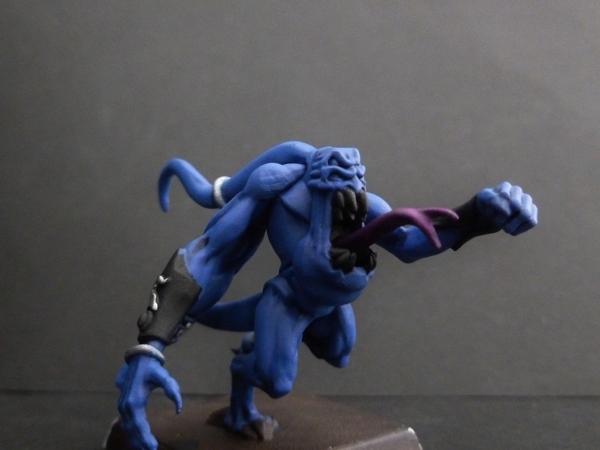
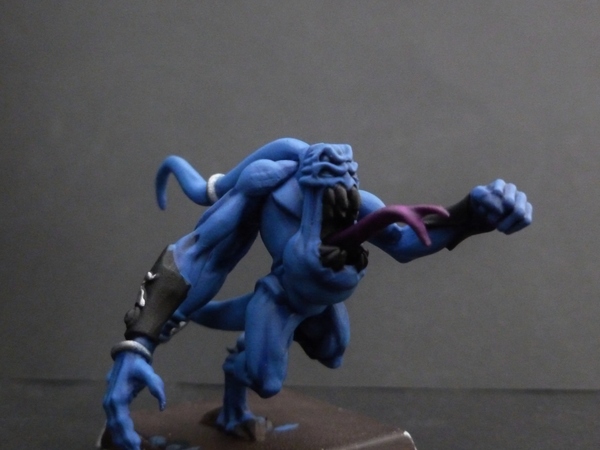
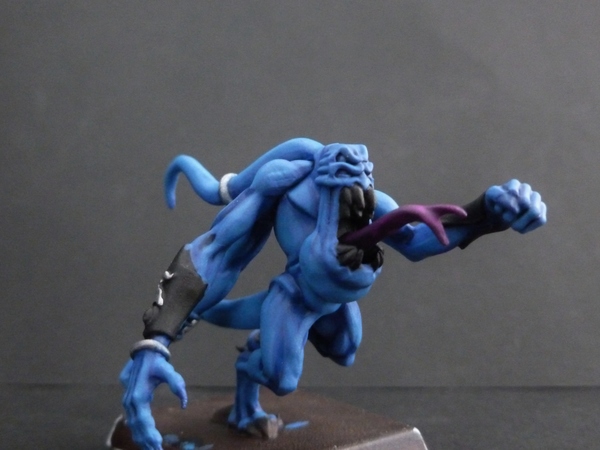
Stages 11-13. Layers working up to Ice Blue. Change of brush size for certain areas.
Pure Ice Blue was too sharp a contrast to go on straight after stage 10 so I just mixed more and more Ice Blue into the existing mix, layered, added more Ice blue, layered and then painted on pure Ice Blue. It might be a good idea to decrease the brush size for the face, eyelids and any other detailed area.
Stages 14-16. Extreme highlights, tidy up details.
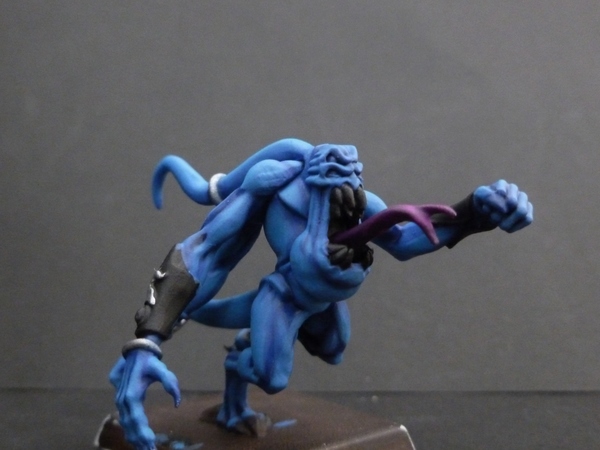
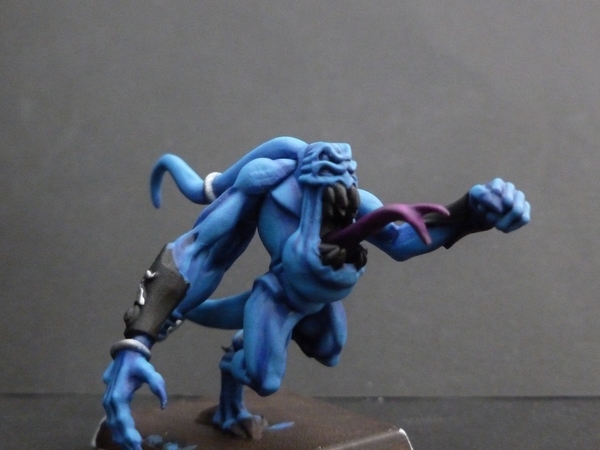
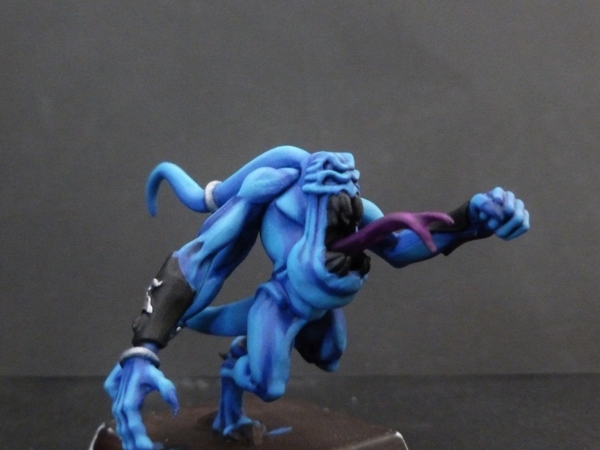
A dot of Skull White is added to the Ice Blue and painted onto very select areas. Concentrate on the centre of large, flat areas (such as the tail/crest, arms, jaw etc.) and any joints (knees and knuckles). More Skull White is added for the next layer and finally pure but very thin Skull White is used for the most extreme, sparing highlights.
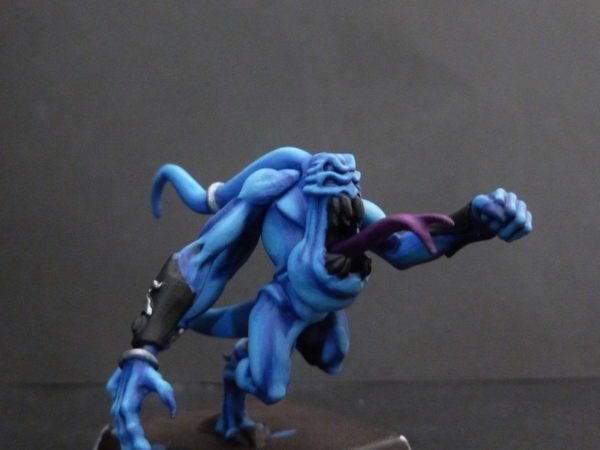
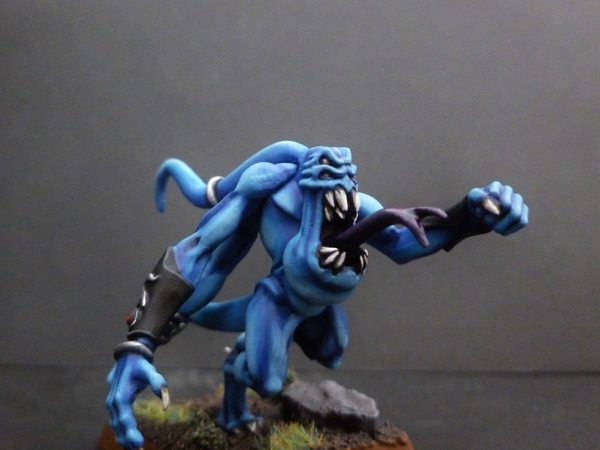
The flesh is now complete. Use Asurmen Blue and a fine detail brush to shade the eye sockets and paint into any crevices you wish to be redefine (the cracks in between the fingers usually need doing).
At this point the armour, teeth and jewellery will probably have splashes of blue paint on them so clean them up very carefully with the original base colour. Keep a tiny bit of kitchen roll handy in-case you make a mistake. If you get paint on the flesh quickly flood the area with clean water on your brush, swirly it around so the paint can't stick and blot it up with a little ball of kitchen roll. Don't use toilet paper as it leaves hairs and fibres all over the place.
Stage 17. Finishing off.
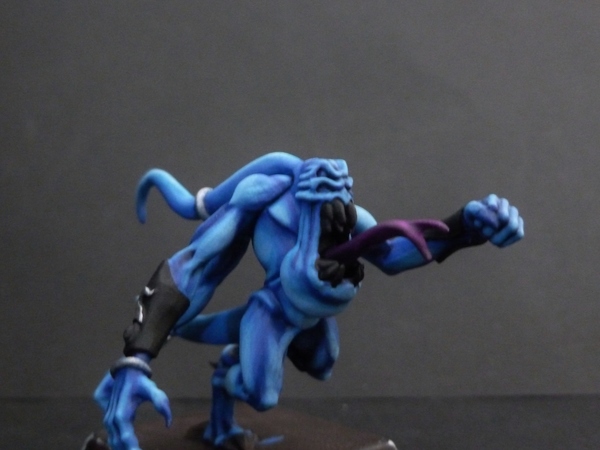
The details are finished in this stage. Using a fine detail brush, edge highlight the black armour with Adeptus Battlegrey and then Codex Grey. The teeth and claws are painted VGC Charred Brown, Snakebite Leather and then Bleached Bone. The teeth are then given a highlight of Skull White to make them pop.
Wash the metal jewellery with Nuln Oil and edge highlight with mithril silver.
The eyes are painted Golden Yellow, dotted Skull White and washed Baal Red.
The gems are painted fully with a 1/1 mix of mechrite red and chaos Black. Mechrite Red is then painted on the lower half of the gem, Blood Red on the lower half of the Mechrite Red and Blazing Orange onto the lower half of the Blood Red. A dot of Skull White in the top of the gem simiulates a reflection of light.
Finish the base in your own style and you are done. Thanks for reading.
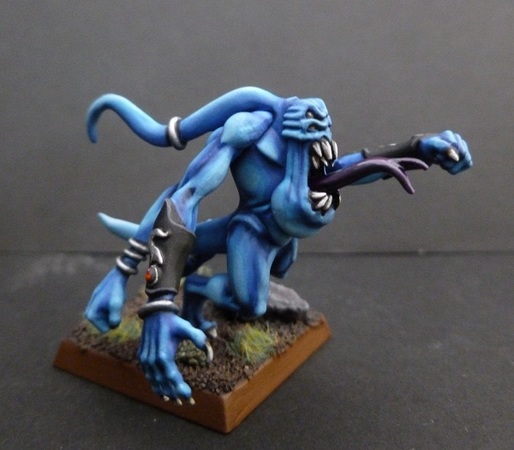
I hope you've enjoyed the tutorial guys, Tony paints completely differently from me so I found it very interesting (working from a white base

). I am now going to try and steal his skills, which are no longer secrets!
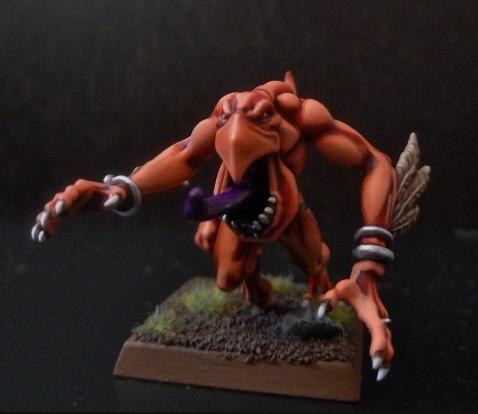
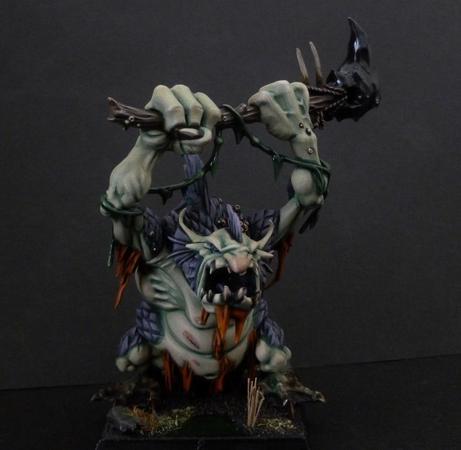
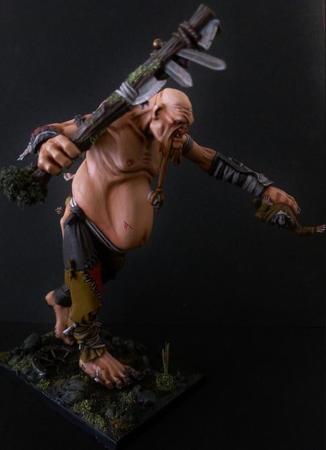
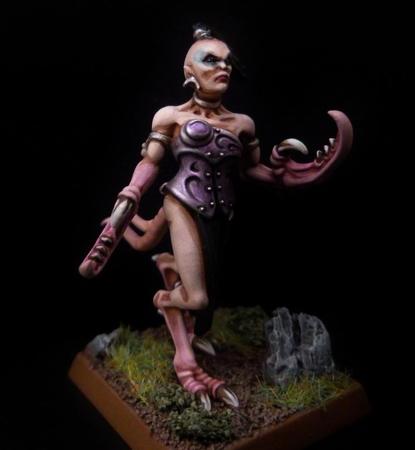
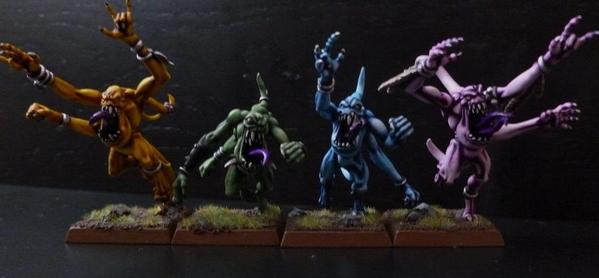
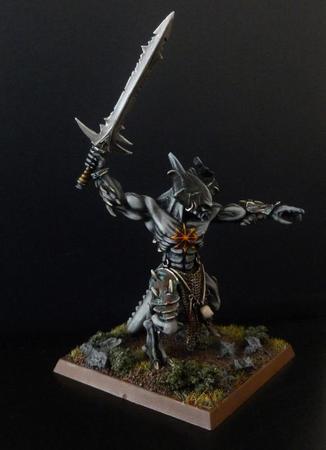
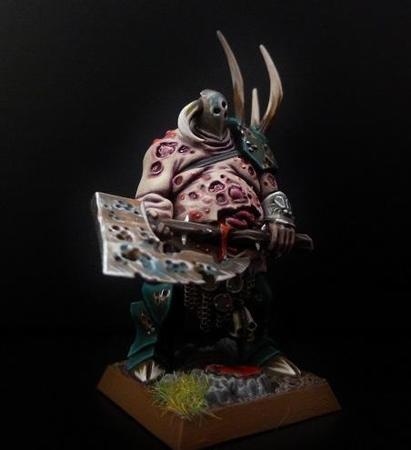
Thanks again to Tony for taking the time to write this and paint up another beauty of a model for the forum! I've taken the liberty of picking a few examples of the standard that he paints flesh to to showcase the strength of using techniques like this, the proof is in the pudding, and any excuse to look at pretty models is a good one in my book! (The Daemonette I actually had up all the while I was doing mine for the speed-painting tutorial for inspiration).
What our customers are saying...
Sign up for our newsletter - for the latest news and promotions
Element Games Team
Stockport Store and Gaming Centre
